Achieving a breathtaking candlelit wedding isn’t about hoping for the best; it’s about mastering the science of safety and ambiance to create romance with confidence.
- Understand the “thermal load” of your candles to work with your venue’s HVAC system, not against it.
- Select the right wax type (like beeswax) and appropriate enclosures to eliminate drip damage and cleaning fees.
Recommendation: Treat your lighting like a professional production by creating a “Lighting Hierarchy” and a detailed operational plan for your team.
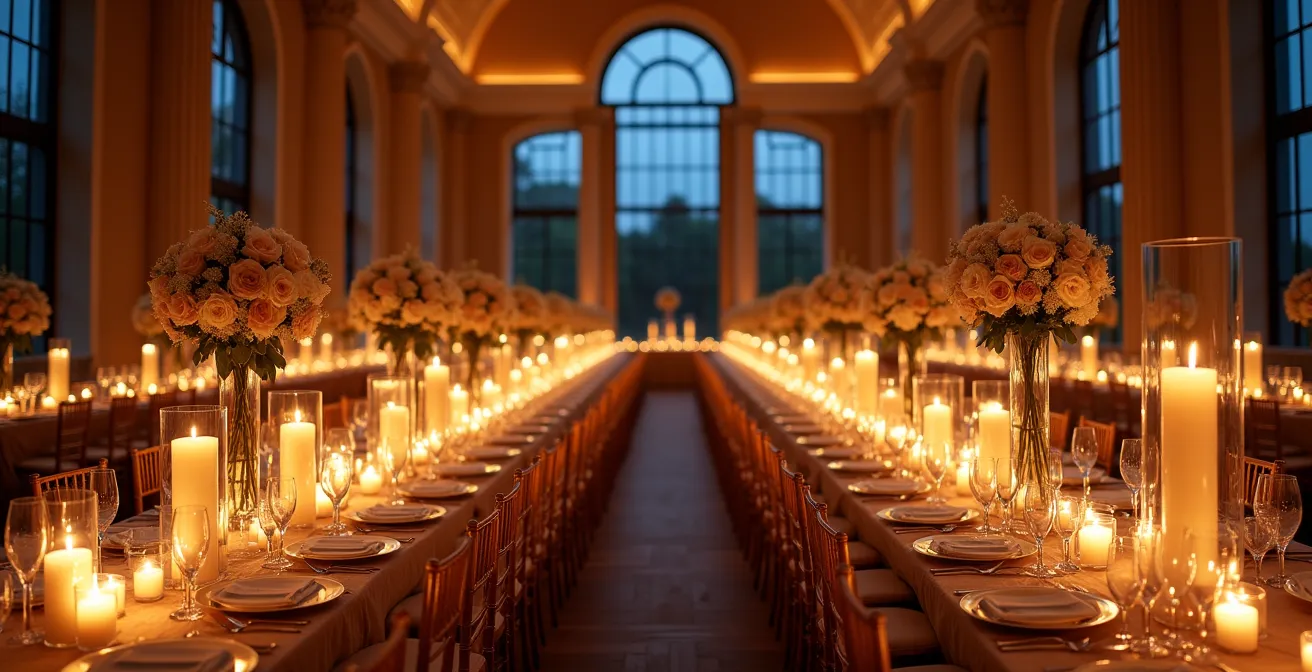
Every couple dreaming of a romantic wedding envisions the same thing: a room bathed in the soft, flickering glow of hundreds of candles. It’s an atmosphere of unparalleled intimacy and warmth. But between that dream and the reality of your wedding day lies a minefield of practical concerns: venue restrictions, fire hazards, heat, and wax-stained linens. The common advice is often a list of “don’ts” that can feel like they’re extinguishing the romance before it even begins. You’re told to check with your venue, use LED alternatives, or be careful, but rarely are you told *how* to navigate these challenges to achieve the vision you desire.
The secret that seasoned event professionals understand is that true atmospheric magic isn’t born from ignoring the rules, but from mastering them. The key to unlocking that breathtaking candlelight experience is to approach it not just as a decorator, but as a safety expert with a romantic soul. It involves understanding the physics of fire, heat, and light. It’s about transforming safety requirements from constraints into creative opportunities and choreographing the logistics with precision.
This guide will walk you through the technical realities and professional strategies for creating a stunningly beautiful and, most importantly, safe candlelit environment. We will move beyond the basic warnings to give you actionable knowledge, from calculating the thermal load of your candles to selecting flameless options that fool even the most discerning eye. By the end, you will see that safety and logistics are not the enemies of romance; they are its essential foundation.
To help you navigate these crucial considerations, this article is structured to address the most pressing questions, from venue compliance to advanced lighting design. Explore the topics below to build your plan for a flawlessly romantic and safe celebration.
Summary: How to Maximize Candlelight Impact Without Burning the Venue Down
- Why 90% of venues require enclosed flames and how to make it look good?
- The temperature rise: will 500 candles make the room uncomfortably hot?
- Preventing cleaning fees: selecting candles that don’t drip on linens
- Who lights the 200 candles and how long does it actually take?
- Wax-dipped LEDs vs. Plastic: finding fake candles that fool the eye
- The “Stick-Um” trick: preventing candles from wobbling in old holders
- How many strands can you plug in before blowing the venue’s fuse?
- How to Use Pin Spots to Make Your Centerpieces Pop in the Dark?
Why 90% of venues require enclosed flames and how to make it look good?
The number one rule you’ll encounter is the requirement for open flames to be enclosed. This isn’t an arbitrary decision by your venue manager; it’s a mandate rooted in strict fire codes designed to prevent catastrophe. These regulations are non-negotiable and exist to protect the building, your guests, and your event. For instance, many codes specify that the flame tip must be maintained a minimum of 2 inches below the top opening of an enclosure. This prevents an open flame from catching a stray piece of decor, a sleeve, or being knocked over and starting a fire. An enclosure acts as a crucial barrier between the flame and the environment.
However, this safety requirement should not be seen as a creative limitation. Instead, view it as a design opportunity. The enclosure itself becomes part of your tablescape aesthetic. The right container can amplify the light, complement your theme, and add a layer of sophistication. Rather than a set of identical hurricane glasses, consider a curated collection of vessels of varying heights and styles to add visual interest and depth to your centerpieces.
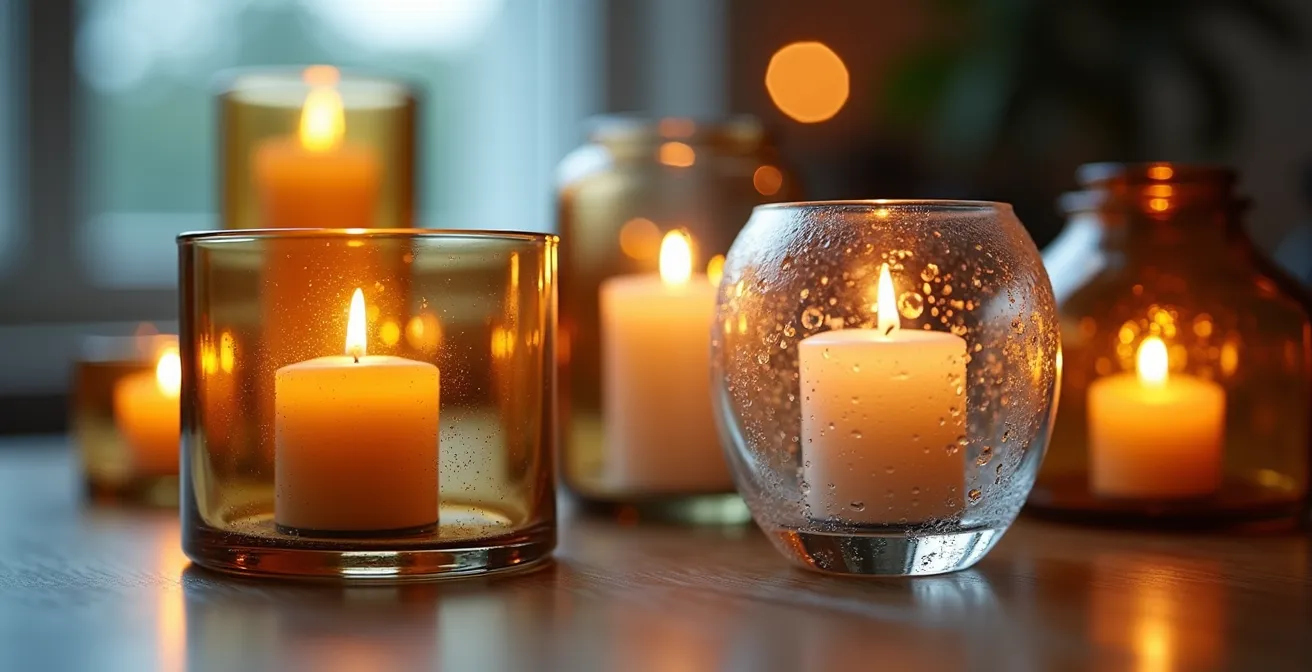
The key is to match the enclosure style to your overall wedding theme. A modern, minimalist wedding might call for sleek, clear glass cylinders, while a rustic affair could be enhanced by mason jars or aged brass lanterns. This thoughtful selection transforms a safety mandate into an integral part of your decor’s success.
To help you align your safety measures with your aesthetic vision, this table offers a starting point for matching enclosure styles to popular wedding themes.
| Wedding Theme | Recommended Enclosure Style | Visual Effect |
|---|---|---|
| Modern/Minimalist | Clear glass cylinders | Sleek, contemporary lines |
| Rustic/Farmhouse | Mason jars, aged brass lanterns | Warm, vintage appeal |
| Bohemian | Colored glass Moroccan lanterns | Exotic, colorful patterns |
| Classic/Elegant | Crystal hurricanes | Sophisticated sparkle |
The temperature rise: will 500 candles make the room uncomfortably hot?
While the visual impact of 500 candles is undeniable, their collective heat output—or thermal load—is a critical factor that is often overlooked. A single tea light or votive candle may seem insignificant, but hundreds burning simultaneously can have a significant effect on a room’s ambient temperature, potentially making your guests uncomfortably warm. This is not just a matter of comfort; it’s a logistical challenge that involves your venue’s HVAC (Heating, Ventilation, and Air Conditioning) system. Your romantic vision could quickly turn into a sweaty reality if not planned for.
To understand the scale of the issue, consider the science. A single candle produces between 75 and 85 BTUs (British Thermal Units) of heat per hour. This means that a display of 500 candles will generate approximately 40,000 BTUs per hour. This is equivalent to running a small furnace in your reception space. If the venue’s air conditioning system is not equipped to compensate for this additional thermal load, the room temperature will inevitably rise. This is especially true in older, historic venues with less modern ventilation or in spaces with low ceilings where heat can get trapped.
The solution is proactive communication with your venue manager. Before you commit to a large-scale candle installation, you need to have a detailed conversation about their HVAC capabilities. Don’t just ask if candles are allowed; ask if the system can handle the specific thermal load you plan to introduce. Providing them with the 40,000 BTU figure will show you’ve done your homework and allow them to give you an informed answer. In some cases, they may be able to adjust the system’s settings, while in others, you may need to scale back your vision or strategically place candles away from dining areas to mitigate the heat.
Preventing cleaning fees: selecting candles that don’t drip on linens
Beyond the immediate risks of fire and heat, there’s a financial landmine couples often forget: cleaning and damage fees. A single dripping candle can ruin an expensive linen, and when multiplied across dozens of tables, the cost can be substantial. Many venues will hold you liable for any damage to their property, and photographers have documented how wax can cause unrepairable burns and holes in fine fabrics. The key to avoiding these penalties lies in the careful selection of your candles, as not all wax is created equal.
The tendency of a candle to drip is primarily determined by its wax type and the environment it’s in. Low-quality paraffin wax, while inexpensive, is notorious for dripping and creating a mess. Beeswax and high-quality palm wax, on the other hand, have higher melting points and are formulated to be virtually dripless under ideal conditions. “Ideal conditions” means a draft-free environment. Even a dripless candle can begin to drip if it’s placed near an open door, a vent, or a high-traffic area where air movement causes the flame to flicker unevenly and melt the wax irregularly.
Even with the best candles, a multi-layered defense is the smartest strategy. First, always use a holder or an enclosure. Second, as recommended by wedding professionals, place candles on a protective base, such as a decorative tray, a mirror, or a slice of wood. This not only protects the linen but also enhances the centerpiece design. A small amount of water or sand in the bottom of a glass vase can also help stabilize the candle and catch any potential drips.
This comparative table breaks down the performance of common wax types to help you make an informed decision that balances cost, performance, and risk.
| Wax Type | Drip Risk | Cost | Burn Time | Environmental Impact |
|---|---|---|---|---|
| Paraffin | High | Low | Shortest | Petroleum-based |
| Soy | Medium | Medium | Long | Plant-based |
| Beeswax | Low | High | Longest | Natural |
| Palm Wax | Low | Medium | Long | Sustainability varies |
Who lights the 200 candles and how long does it actually take?
The logistical task of lighting a large number of candles is a detail so seemingly small that it’s often completely forgotten until minutes before guests are set to enter the reception hall. This is what we call “operational choreography,” and overlooking it can lead to chaos. Who is responsible for this task? How long will it take? The answer is often surprising. Based on wedding planning calculations, if it takes just 15 seconds to light each candle, then lighting 200 candles takes approximately 50 minutes for a single person. That’s nearly an hour of dedicated time that your planner or venue staff may not have during the critical pre-reception window.
This is not a job for a single, rushed individual. Successfully executing a large-scale candlelit event requires a designated and prepared “Lighting Team.” This team, which could consist of 2-4 members of your planner’s staff, venue coordinators, or even trusted friends, needs a clear plan and the right tools. Each member should be assigned a specific zone of the room to avoid overlap and ensure every candle is lit efficiently. It’s about turning a frantic scramble into a synchronized, professional operation.
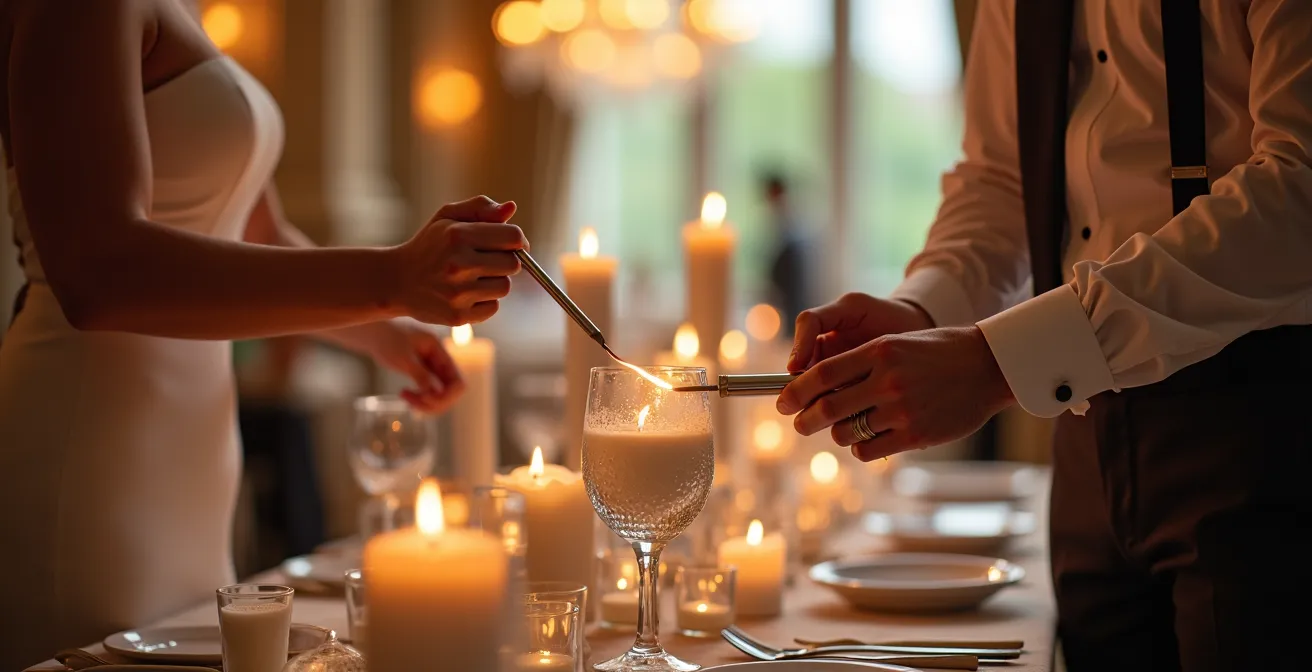
The right tools are just as important as the team. Standard pocket lighters are inefficient and unsafe for reaching into tall hurricane glasses. The team should be equipped with long-reach butane lighters to safely access wicks inside enclosures. Furthermore, the plan must account for maintenance. One person should be designated to discreetly monitor the room throughout the evening, relighting any candles that may have extinguished. Finally, extinguishing the candles requires a plan too. Blowing them out can spray hot wax on guests and decor. Using professional wick snuffers is a cleaner, safer, and more elegant method that concludes the operational choreography with the same precision it began with.
Wax-dipped LEDs vs. Plastic: finding fake candles that fool the eye
For some venues, the fire code is absolute, and real flames are simply not an option. In these cases, the conversation shifts to flameless LED candles. However, the fear for many couples is that “fake” candles will look cheap and detract from the romantic atmosphere. The good news is that LED technology has advanced dramatically. The key to success is knowing how to distinguish high-quality, realistic LEDs from the shiny, plastic versions that scream “artificial.” The secret lies in two main factors: material and color temperature.
First, look for LEDs made from or dipped in real wax. This immediately gives them the authentic texture and matte finish of a traditional candle. A simple plastic casing often has a slight sheen that catches the light unnaturally, giving it away instantly. A real wax exterior, however, feels and looks genuine, especially when unlit during the daytime portions of your event. Many high-end options also feature a “melted edge” design, which further enhances the illusion of a real, partially-burned candle.
The second, and arguably most important, factor is “flicker fidelity”—how well the LED replicates the color and movement of a real flame. This is determined by its color temperature, measured in Kelvin (K). Cheap LEDs often emit a cold, bluish light, which is a dead giveaway. Authentic candlelight is very warm and amber-toned. To achieve this look, you need LEDs within the 2200K to 2700K color temperature range. This specific range ensures the light produced is warm and inviting, not stark and artificial.
As lighting experts from Sunco Lighting explain, the physics of color are critical for creating a believable effect.
Candlelight is around 1800K to 2200K, creating a warm amber glow. LEDs in the 2200K-2700K range provide the closest match to real flame warmth without the cold blue tint of higher temperature LEDs.
– Sunco Lighting, Color Temperature Applications Guide
By focusing on these two technical details—a real wax body and a color temperature below 2700K—you can select LED candles that offer the perfect blend of absolute safety and convincing romantic ambiance, fooling even the most skeptical guests.
The “Stick-Um” trick: preventing candles from wobbling in old holders
You’ve found the perfect vintage brass candlesticks or mismatched antique holders to complement your decor. But when you place your taper candles inside, you discover a common and dangerous problem: they wobble. An unstable candle is a significant fire hazard, as it can easily tip over and ignite nearby materials. This issue is not just about aesthetics; it’s about fundamental safety. In fact, updated fire safety standards like ASTM F2417-2023 emphasize the critical importance of wick stability, noting that a flame leaning against its container is a major fire risk. Ensuring your candles are secure is a non-negotiable step.
While the old trick of melting the bottom of the candle to create a wax seal can work in a pinch, it’s messy and unreliable. Professional event designers and chandlers (candle makers) have a toolkit of more effective solutions to ensure a snug and secure fit every time. The most popular of these is a product called candle adhesive putty, often known by the brand name “Stick-Um.” This is a malleable, tacky putty that you place in the bottom of the holder. When you press the candle into it, the putty forms a strong, invisible bond that holds the candle perfectly upright.
Beyond putty, there are several other professional tricks for achieving a stable setup. For holders that are slightly too wide, candle snuggers—small rubber or flexible metal rings—can be placed around the base of the candle to fill the gap and eliminate any wobble. In situations where the holder is very deep, a small piece of floral foam can be inserted into the base to provide a firm foundation for the candle. For transparent glass holders where putty might be visible, clear museum wax offers the same securing power with a completely invisible finish. These simple tools are inexpensive but invaluable for ensuring your beautiful candle display is also a safe one.
How many strands can you plug in before blowing the venue’s fuse?
Your lighting plan often extends beyond candles to include elements like string lights, uplighting, or illuminated monograms. While these can create a magical atmosphere, they also introduce a new set of risks related to electrical load. Overloading a circuit is one of the most common and dangerous mistakes in event setup. It can lead to a blown fuse, plunging your reception into darkness at a critical moment, or worse, create a serious fire hazard from overheating wires. Understanding basic electrical principles is just as important as understanding fire safety.
The key is knowing the capacity of your venue’s circuits and the power draw of your lighting. The difference between older incandescent bulbs and modern LED lights is massive in this regard. As a stark example, you can safely run approximately 45 strands of LED lights on one 15-amp circuit, versus only 2 strands of incandescent lights. Choosing LED for your string lighting is not just an energy-efficient choice; it’s a crucial safety decision that drastically reduces the risk of overloading a circuit. This is why most professional lighting companies have transitioned almost exclusively to LED.
Even with LEDs, you must respect the limits of the electrical system. A fundamental rule of electrical safety, as outlined by the National Electrical Code, is to never exceed 80% of a circuit’s maximum capacity. This provides a safety buffer to prevent overheating and tripping the breaker.
Never load a circuit to more than 80% of its maximum amperage. For a standard 15-amp circuit, that’s a 12-amp maximum.
– National Electrical Code, Electrical Safety Standards
Before your event, work with your lighting vendor and venue manager to create a power map. Identify the location and capacity of all available outlets and dedicate different circuits to different functions (e.g., one for the DJ, one for catering, and separate circuits for lighting). This prevents all your critical systems from being on a single circuit that could fail. This level of planning is the hallmark of a professional and safe event production.
Key Takeaways
- True romantic ambiance comes from mastering safety and logistics, not ignoring them.
- Every detail, from the type of wax to the electrical load of string lights, contributes to a successful and safe event.
- A professional approach involves creating a “lighting hierarchy” and having a clear operational plan for setup and management.
How to Use Pin Spots to Make Your Centerpieces Pop in the Dark?
You’ve planned for safety, managed the heat, and chosen the perfect candles. Now it’s time to elevate your design from simply “lit” to “artfully illuminated.” In a room filled with the ambient glow of candles, individual elements like your stunning floral centerpieces can get lost in the dimness. This is where pin spotting comes in. A pin spot is a narrow, focused beam of light, usually mounted from the ceiling, that is aimed directly at a specific object. It acts like a spotlight on a stage, drawing the eye and making your centerpieces “pop” with vibrant clarity against the darker, romantic background.
This technique is a cornerstone of professional lighting design because it creates a “lighting hierarchy.” As explained by wedding planner Ashley Lachney, this means not all light is created equal. Your pin-spotted centerpieces become the primary tier of light, the brightest and most attention-grabbing elements. The warm, ambient glow of your candles forms the second tier, creating the overall mood. The third tier might be subtle uplighting on the cake or bar. This layering creates depth, drama, and visual interest, preventing the room from feeling like a flat, uniformly lit space. It guides your guests’ attention to the details you’ve so carefully curated.
Implementing pin spotting requires close coordination with a professional lighting technician. During a venue walkthrough, they will map the locations for mounting the lights to ensure the beams have a clear path to each table. They will also work with your photographer to position the lights at angles that avoid creating harsh shadows or blowing out the highlights in your photos. The goal is a soft, focused light that enhances, rather than overpowers. The lighting should also be on dimmers, allowing for adjustments throughout the evening as the natural light fades and the party atmosphere evolves.
Your Action Plan: Pin Spotting Implementation Checklist
- Map pin spot locations and power sources during the final venue walkthrough with your lighting vendor.
- Coordinate light positioning and angles with your photographer to avoid unwanted shadows and photo glare.
- Test all lighting angles on a sample centerpiece to ensure the effect is enhancing, not harsh.
- Establish a clear lighting hierarchy: prioritize centerpieces first, then a focal point like the cake or a floral installation.
- Confirm all pin spots are connected to a dimmer system for adjustable ambiance throughout the reception.